SIMULATION
Click to expand each objective.
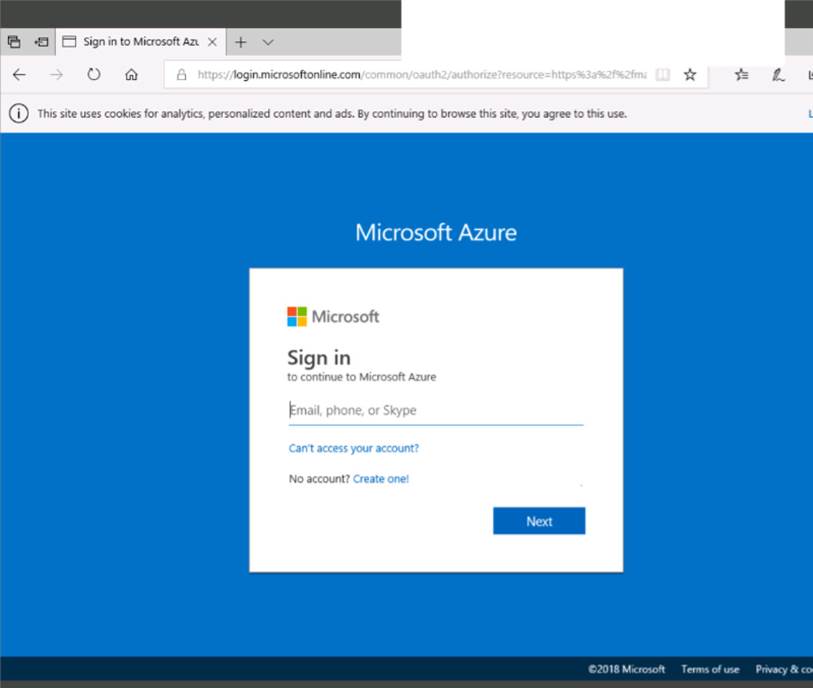
To connect to the Azure portal, type https://portal.azure.com in the browser address bar.

When you are finished performing all the tasks, click the ‘Next’ button.
Note that you cannot return to the lab once you click the ‘Next’ button. Scoring occur in the background while you complete the rest of the exam.
Overview
The following section of the exam is a lab. In this section, you will perform a set of tasks in a live
environment. While most functionality will be available to you as it would be in a live environment, some functionality (e.g., copy and paste, ability to navigate to external websites) will not be possible by design.
Scoring is based on the outcome of performing the tasks stated in the lab. In other words, it doesn’t matter how you accomplish the task, if you successfully perform it, you will earn credit for that task. Labs are not timed separately, and this exam may have more than one lab that you must complete.
You can use as much time as you would like to complete each lab. But, you should manage your time appropriately to ensure that you are able to complete the lab(s) and all other sections of the exam in the time provided.
Please note that once you submit your work by clicking the Next button within a lab, you will NOT be able to return to the lab.
To start the lab
You may start the lab by clicking the Next button.
You plan to configure VM1 to be accessible from the internet.
You need to add a public IP address to the network interface used by VM1.
What should you do from the Azure portal?
Answer: You can add private and public IP addresses to an Azure network interface by completing the steps that follow.
Step 1: In Azure portal, click More services > type virtual machines in the filter box, and then click Virtual machines.
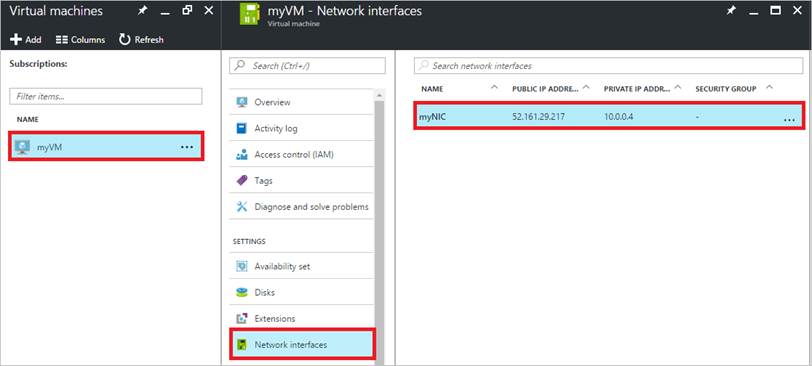
Step 2: In the Virtual machines pane, click the VM you want to add IP addresses to. Click Network interfaces in the virtual machine pane that appears, and then select the network interface you want to add the IP addresses to. In the example shown in the following picture, the NIC named myNIC from the VM named myVM is selected:
Step 3: In the pane that appears for the NIC you selected, click IP configurations.
Step 4: Click Create public IP address.
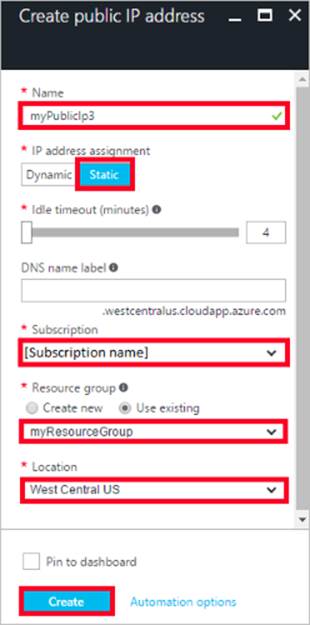
Step 5: In the Create public IP address pane that appears, enter a Name, select an IP address assignment type, a Subscription, a Resource group, and a Location, then click Create, as shown in the following picture:
References: https://docs.microsoft.com/en-us/azure/virtual-network/virtual-networkmultiple-ip-addresses-portal
Latest AZ-300 Dumps Valid Version with 283 Q&As
Latest And Valid Q&A | Instant Download | Once Fail, Full Refund
