SIMULATION
Click to expand each objective.
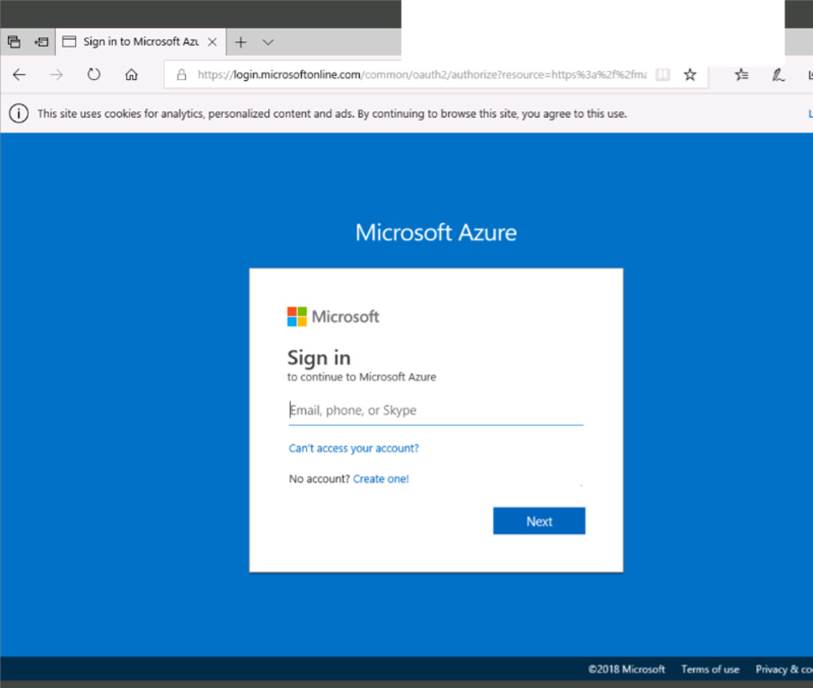
To connect to the Azure portal, type https://portal.azure.com in the browser address bar.
When you are finished performing all the tasks, click the ‘Next’ button.
Note that you cannot return to the lab once you click the ‘Next’ button. Scoring occur in the background while you complete the rest of the exam.
Overview
The following section of the exam is a lab. In this section, you will perform a set of tasks in a live environment. While most functionality will be available to you as it would be in a live environment, some functionality (e.g., copy and paste, ability to navigate to external websites) will not be possible by design.
Scoring is based on the outcome of performing the tasks stated in the lab. In other words, it doesn’t matter how you accomplish the task, if you successfully perform it, you will earn credit for that task. Labs are not timed separately, and this exam may have more than one lab that you must complete.
You can use as much time as you would like to complete each lab. But, you should manage your time appropriately to ensure that you are able to complete the lab(s) and all other sections of the exam in the time provided.
Please note that once you submit your work by clicking the Next button within a lab, you will NOT be
able to return to the lab.
To start the lab
You may start the lab by clicking the Next button.
Your company plans to store several documents on a public website.
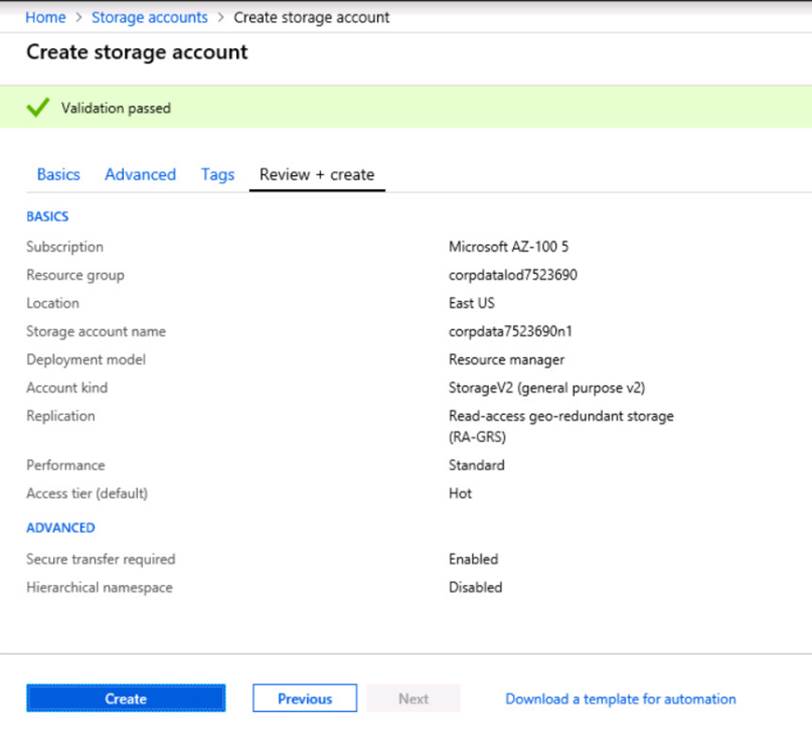
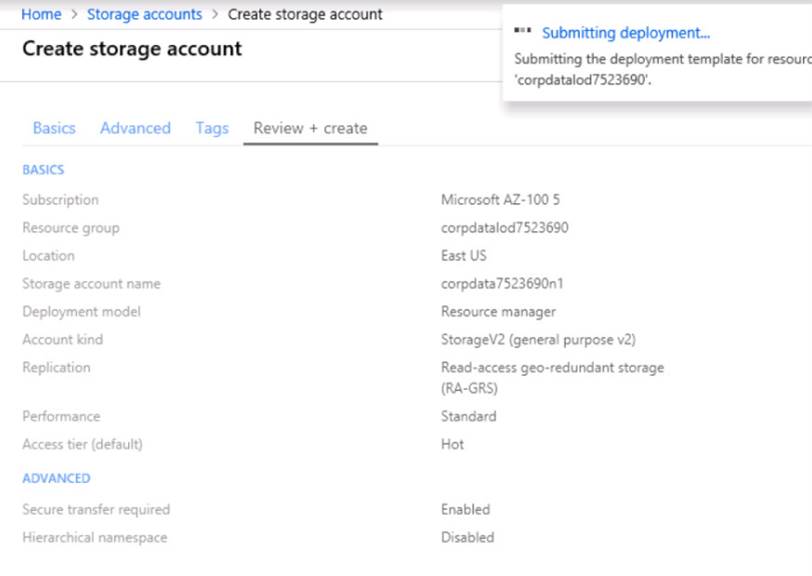
You need to create a container named bios that will host the documents in the storagelod8322489 storage account. The solution must ensure anonymous access and must ensure that users can browse folders in the container.
What should you do from the Azure portal?
Answer: Azure portal create public container
To create a container in the Azure portal, follow these steps:
Step 1: Navigate to your new storage account in the Azure portal.
Step 2: In the left menu for the storage account, scroll to the lob service section, then select Blobs.
Select the + Container button.
Type a name for your new container: bios
Set the level of public access to the container: Select anonymous access.

Step 3. Select OK to create the container.
References:
https://docs.microsoft.com/en-us/azure/storage/blobs/storage-quickstart-blobs-portal
Latest AZ-300 Dumps Valid Version with 283 Q&As
Latest And Valid Q&A | Instant Download | Once Fail, Full Refund
