CORRECT TEXT
Please wait while the virtual machine loads. Once loaded, you may proceed to the lab section. This may take a few minutes, and the wait time will not be deducted from your overall test time.
When the Next button is available, click it to access the lab section. In this section, you will perform a set of tasks in a live environment. While most functionality will be available to you as it would be in a live environment, some functionality (e.g., copy and paste, ability to navigate to external websites) will not be possible by design.
Scoring is based on the outcome of performing the tasks stated in the lab. In other words, it doesn’t matter how you accomplish the task, if you successfully perform it, you will earn credit for that task.
Labs are not timed separately, and this exam may more than one lab that you must complete. You can use as much time as you would like to complete each lab. But, you
should manage your time appropriately to ensure that you are able to complete the lab(s) and all other sections of the exam in the time provided.
Please note that once you submit your work by clicking the Next button within a lab, you will NOT be able to return to the lab.
Username and password
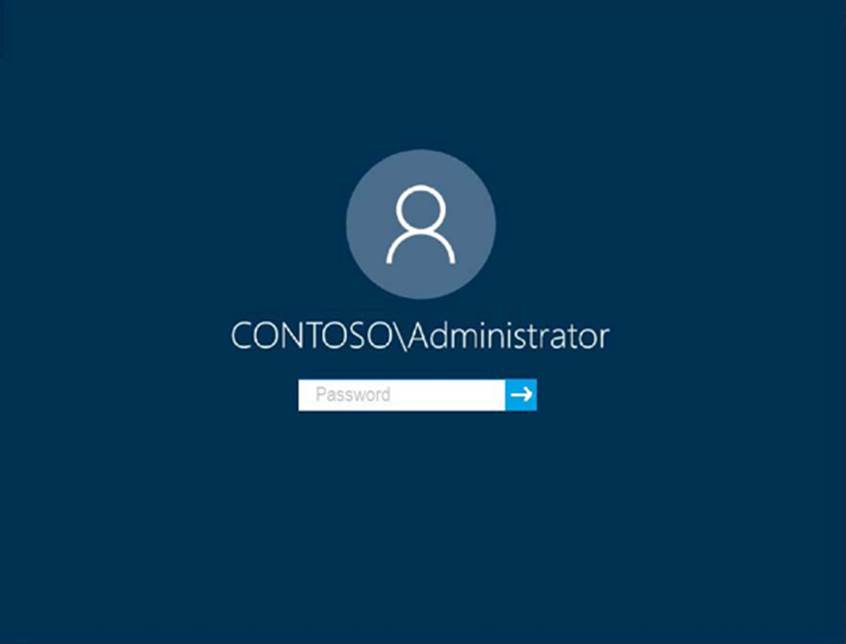
Use the following login credentials as needed:
To enter your password, place your cursor in the Enter password box and click on the password below.
Username: Contoso/Administrator
Password: Passw0rd!
The following information is for technical support purposes only:
Lab Instance: 10921597
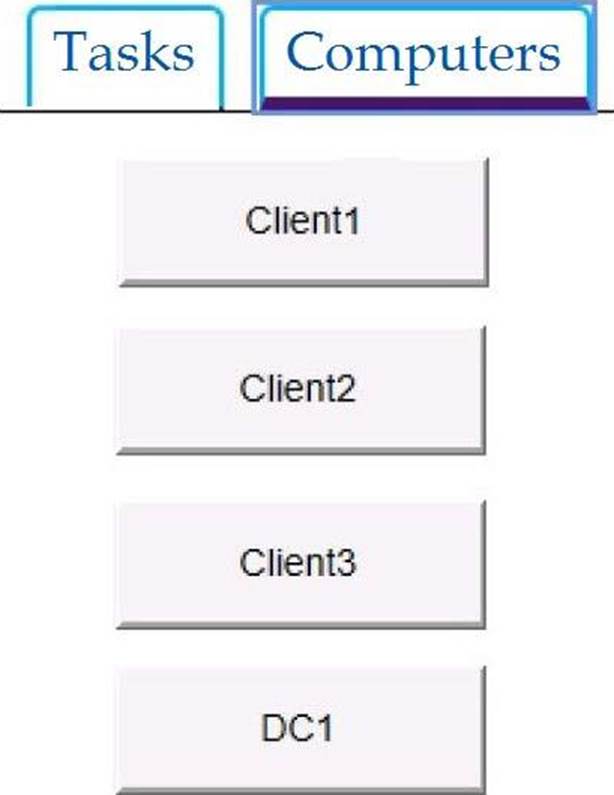
You need to create a user account named User5 on Client2.
The solution must meet the following requirements:
✑ Prevent User5 from changing the password of the account.
✑ Ensure that User5 can perform backups.
✑ Use the principle of least privilege.
To complete this task, sign in to the required computer or computers.
Answer: ✑ On Client2, press the Win + X keys on your keyboard. Then, click or tap the Computer Management option from the menu.
✑ Expand the Local Users and Groups from the left side of the window, and select Users.
✑ Right-click somewhere on the blank space found in the middle section of the window, and click or tap on New User. This opens the New User window, where you can enter all the details about the new user account.
✑ Type the user name and, optionally, its full name and description.
✑ Type the password to be used for that user and confirm it.
✑ Select the User cannot change password check box.
✑ Click Create and Windows immediately creates the user account. When you are done creating user accounts, click Close in the New User window.
✑ Press the Win + R keys to open Run, type secpol.msc into Run, and click/tap on OK to open Local Security Policy.
✑ Expand open Local Policies in the left pane of Local Security Policy, click/tap on User Rights Assignment, and double click/tap on the Back up files and directories policy in the right pane.
✑ Click/tap on the Add User or Group button.
✑ Click/tap on the Object Types button.
✑ Check all the boxes for Object types, and click/tap on the OK.
✑ Click/tap on the Advanced button.
✑ Click/tap on the Find Now button, select the name of the user or group
✑ Click/tap on OK.
✑ Click/tap on OK.
✑ When finished, you can close Local Users and Groups.
Latest MD-100 Dumps Valid Version with 272 Q&As
Latest And Valid Q&A | Instant Download | Once Fail, Full Refund
